Physical Address
304 North Cardinal St.
Dorchester Center, MA 02124
Physical Address
304 North Cardinal St.
Dorchester Center, MA 02124

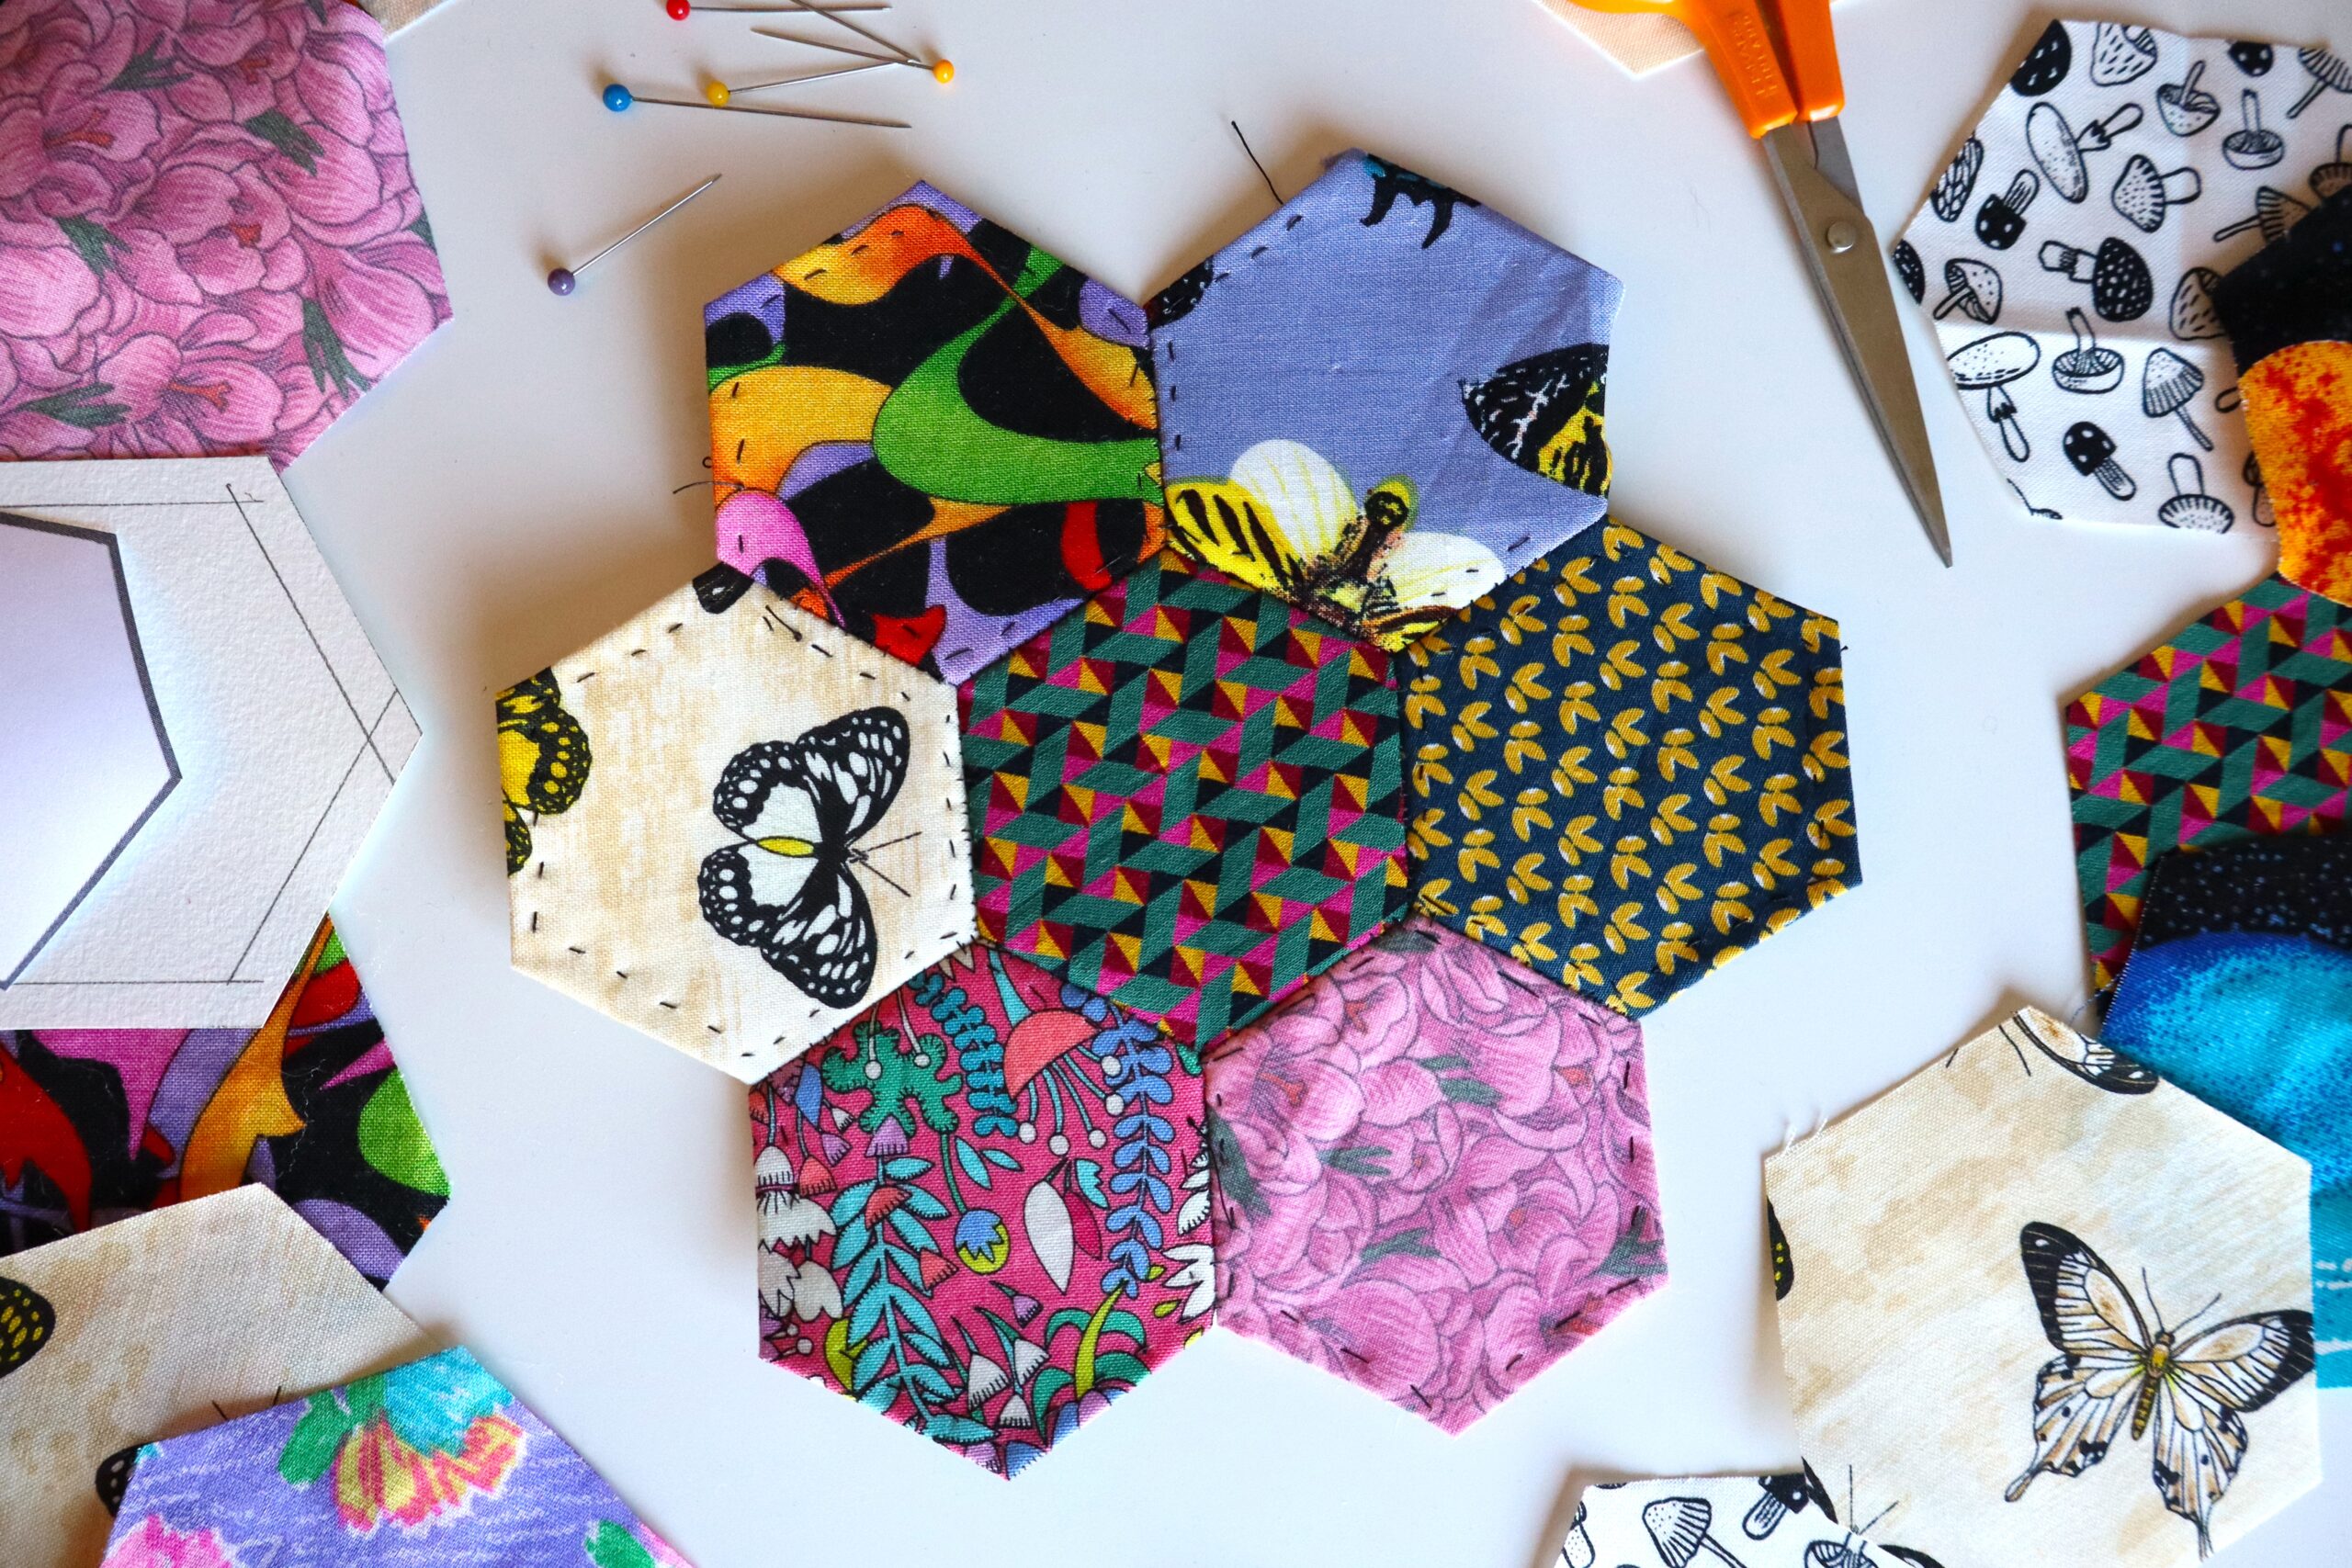
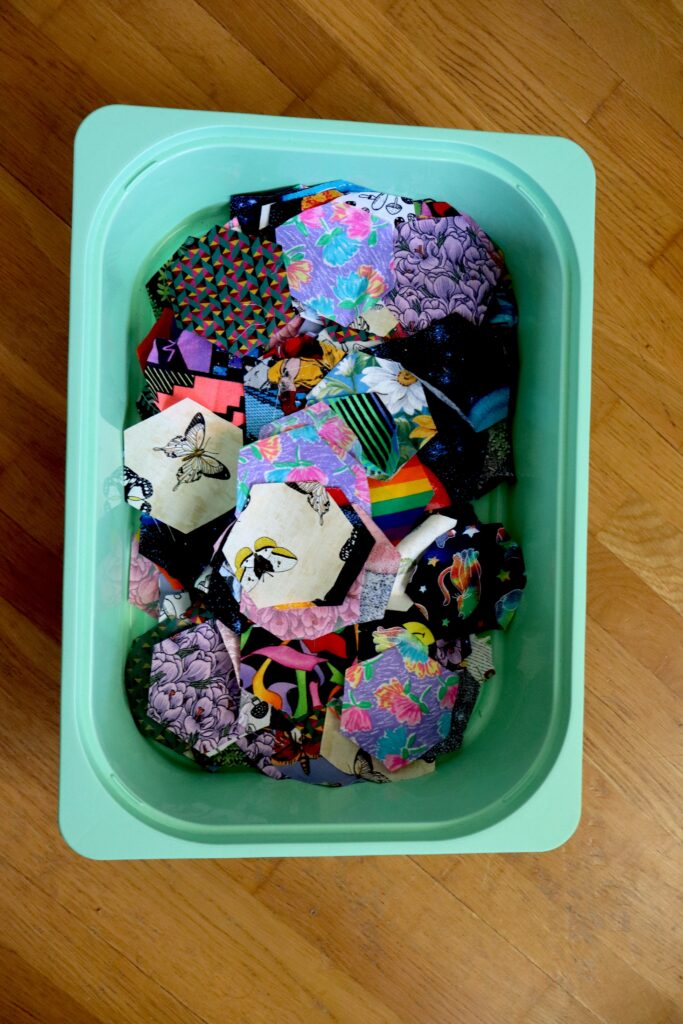
One of my greatest crafting crimes (of which there are many so stick around) is gathering, collecting, and refusing to throw away the smallest bits of fabric. I have an entire bin dedicated to this criminal activity and I’m betting you’ve got similar evidence stacking up somewhere. But here’s the thing. that bin never overflows. It never gets out of hand. This is because every time the lid gets hard to shut I go to work. The good news for all of us hopeless scrap hoarders out there is there are plenty of projects to utilize those scraps. One of the best ways is by making a hexagonal quilt top that can be used for so so many things. From blankets to mending patches to small everyday household items, hexis can bring new life to your abandoned scraps. Even better? Making them is super simple. So lets get into it!
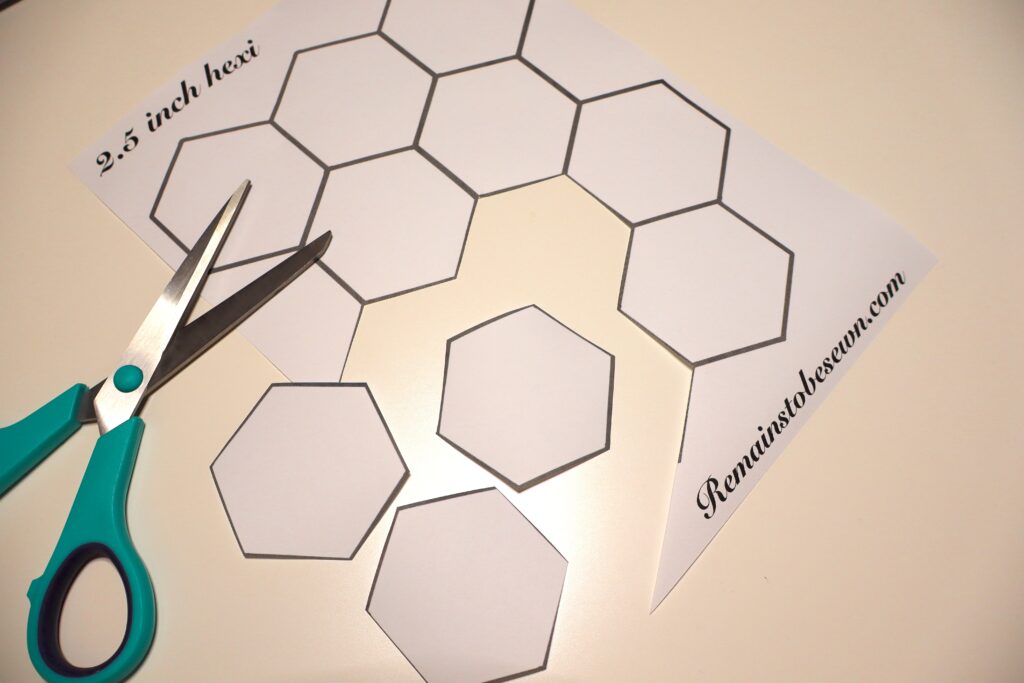
If you haven’t done so already, you can download my hexi sheet for free here. When printing the image, make sure to do a test print. Each hexi should be 2.5 inches across to straight edges when printed correctly. It doesn’t really matter what size you do use at the end of the day, but you’ll want every one to be consistent so it’s just best to always print the original size. My printout gives you ten hexagons so you’re going to want to print it out as many times as you need for whatever project you’re working on. I tend to have a few on hand.
Once you’ve printed out as many as you need, cut them all out! It’s not a bad idea to keep a little box to collect all your new little shape friends.
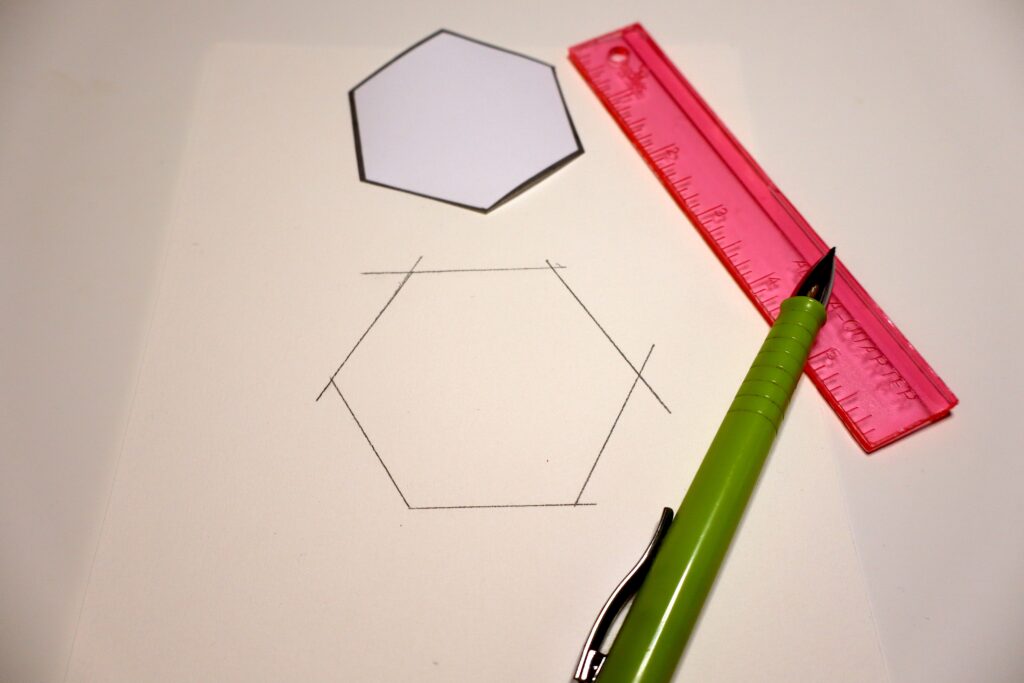
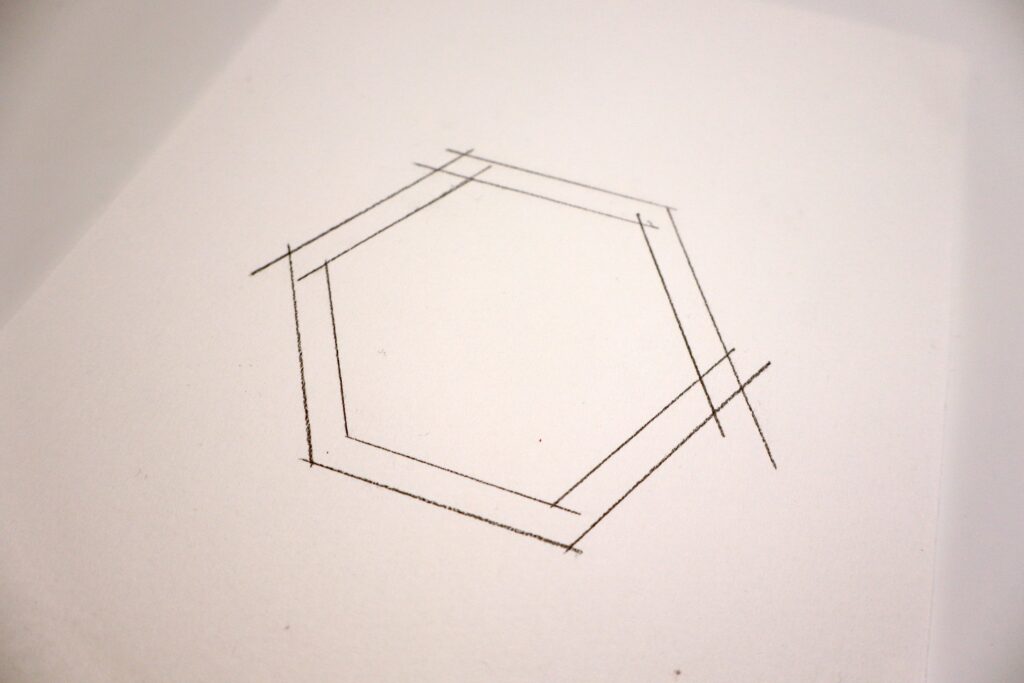
These little hexis will be used to form the actual shape and size of each hexagonal fabric piece. So to cut out our fabric we’re going to need a pattern that gives us a little more room around the edges; a quarter inch to be exact. This is a simple step and once you’ve made it, you can use it for all your future hexis. Start by taking one of the paper hexis and tracing the outline onto a sturdier paper. This doesn’t need to be fancy. You can even use some cereal box cardboard from your recycling. Just pick something a little stronger than printer paper so it lasts long! After you’ve got your outline, you’re going to add a quarter inch all around the outline for your seam allowance. Now cut out your pattern piece and grab those scraps!
The great thing about these little guys is we don’t need to concern ourselves with grain lines or alignment. We’re here to utilize the smallest bits of fabric we can get our hexagon on. You can either trace your pattern on the fabric or go straight at it with scissors or a rotary cutter. It’s up to you. I prefer to trace my shape so I can pile up a bunch of scraps from different fabrics and cut them here and there when I have time.

Whichever you prefer, just make sure you have enough for whatever project you’re planning.
You can also do these as a preparatory exercise. I like to have a bin of these guys on hand.
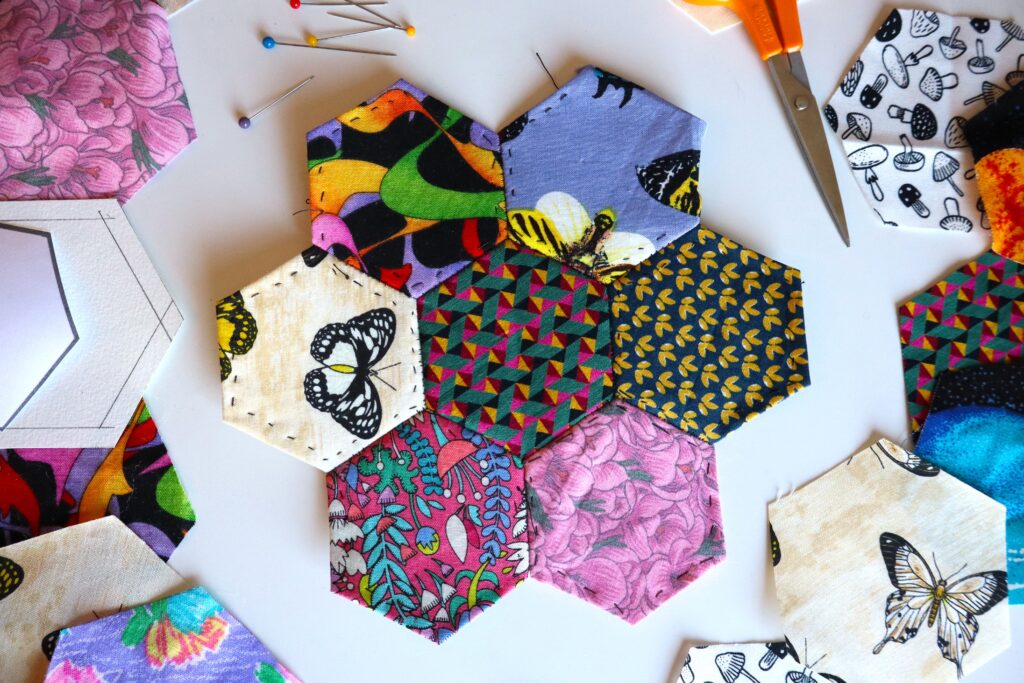
When you’re done cutting out the fabrics of your choice with the pattern piece, it’s time to use all your little template hexis. Centering them as much as possible, pin a template to the wrong side of each fabric piece.
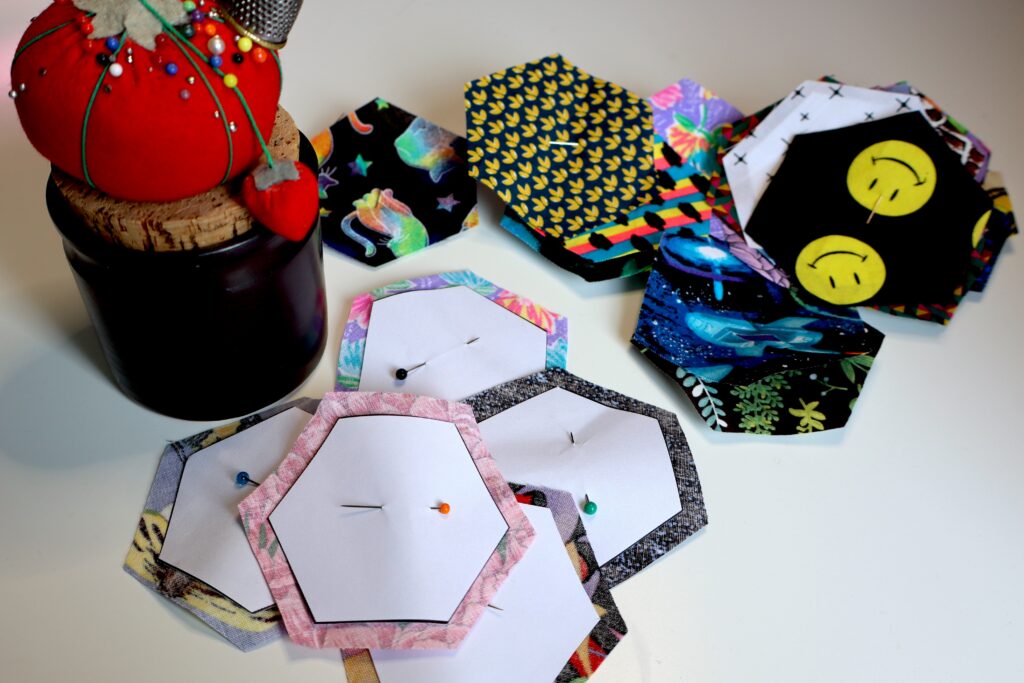
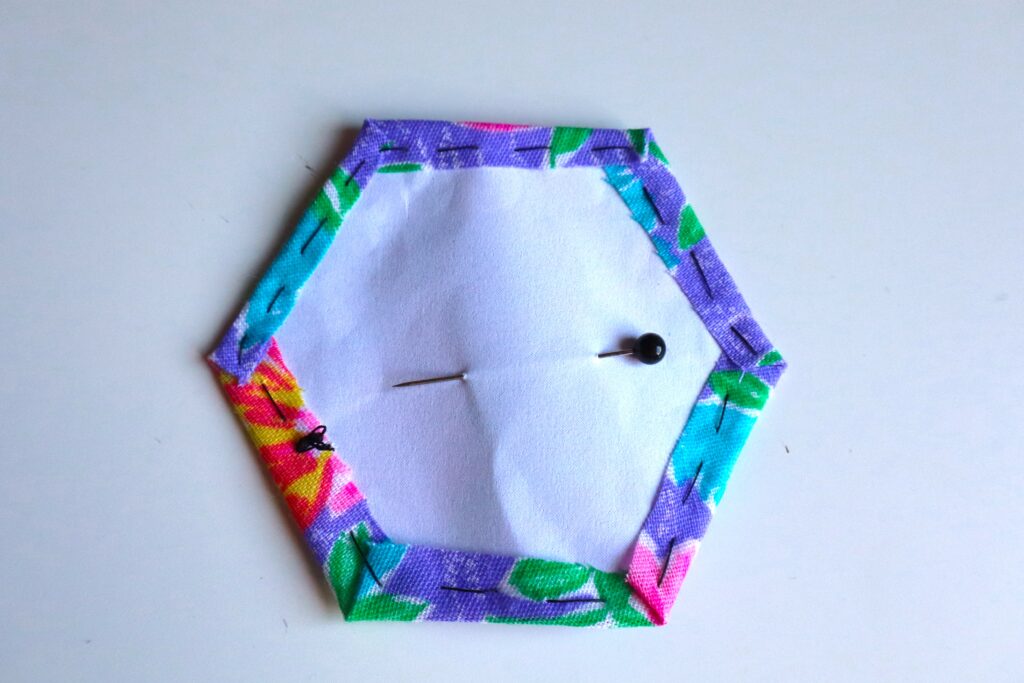
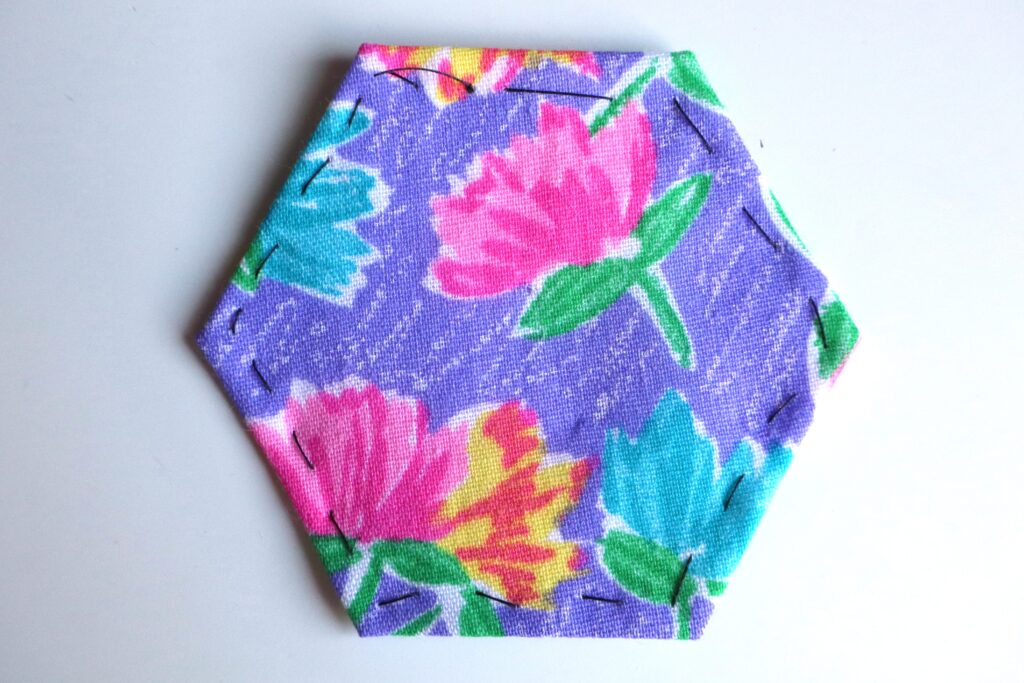
The next step may seem tedious or unnecessary but I promise you it’s crucial. It’s basting time! On each side of the hexi, fold the seam allowance over the paper and baste it in place. You don’t need to be precise with your stitches. Just make sure all the edges are basted down to the backing. You can take the pins out after this step.
Now that all your hexis are basted down, you can have a little fun! arrange your hexis into a design you like. Maybe you have a specific size you need in the end or maybe you’re just creating a big sheet to utilize later. Whatever the need, lay them all out in a design you enjoy and get ready to put it all together! I like to take a picture of my design once I’ve solidified it. This way I can take some hexis on the go and not take up so much space. This next step can take some time depending on the size of your project and you may not have a permanent staging area.
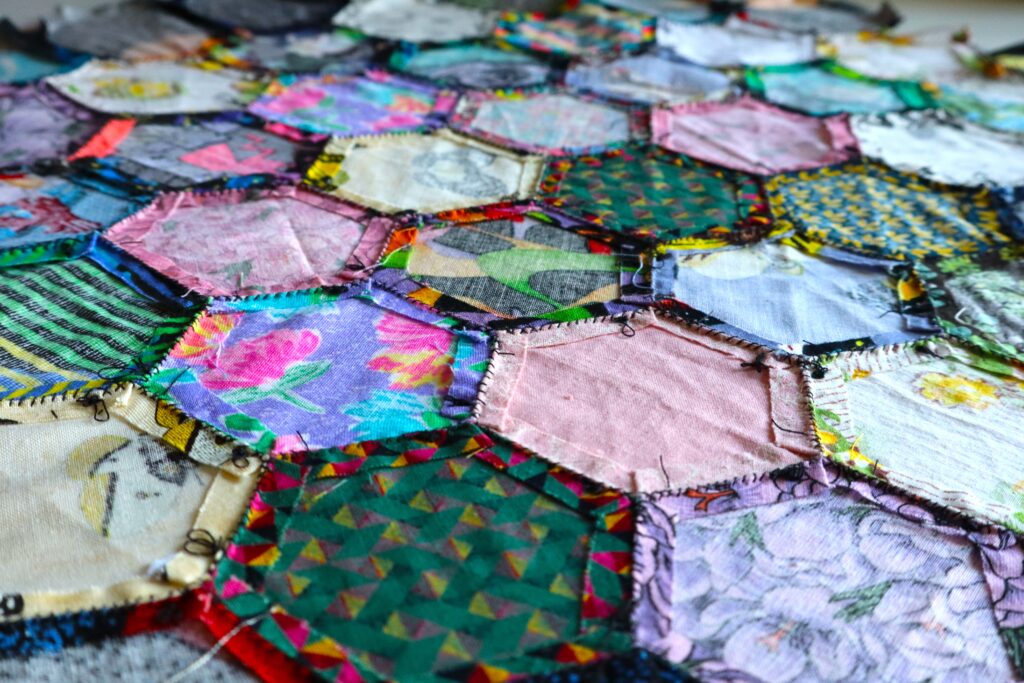
Now that you have your plan, you can start sewing the hexis together. Most people prefer to start from the center of their design and work outward. Others still prefer to sew the design in several small sections and connect them in the end. Personally, I use both methods depending on the size of my final piece. No matter the direction, the technique is the same. Start with two hexis, line them up along the edge you intend to sew, and stitch right sides together. You’re going to be sewing a nice evenly spaced whip stitch, going along the edge just enough to catch both hexis. Remember to back stitch!


Add the next hexi and sew on. I like to think of these sections as little flowers with a center and six petals. I sew each petal to one center’s edges, then connect the petals to each other. This step will be repeated again and again until you’ve sewn all your hexis together. It’s a good idea to keep laying flat to make sure you’ve stitched the right edge or you haven’t forgotten a seem somewhere. Don’t worry about bending these guys every which way. The great thing about this technique is the nice grid you end up getting as you work, creating easy fold lines and structural support from the paper.
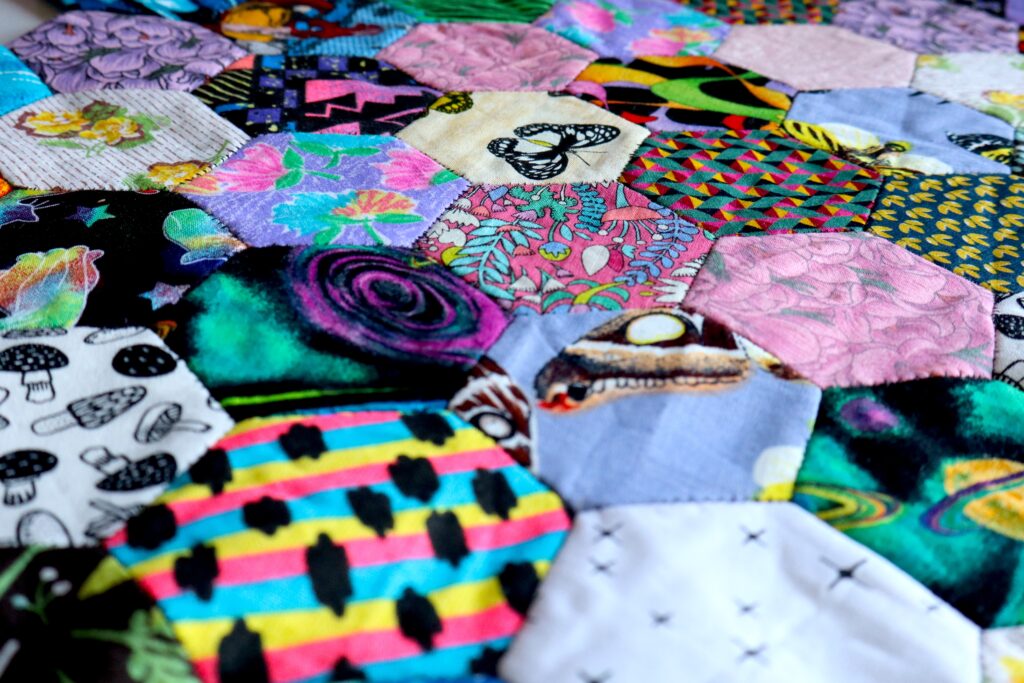
When you’ve got them all attached, bring your fabric to the iron. On medium heat and no steam, flatten out your work. This is your last chance to easily correct any design flaws so make sure you’re truly satisfied!
Next your going to remove the basting stitches and paper backing. The paper will come loose quite easily, but still tug them free gently so you don’t put so much strain on your whip-stitch. If the paper isn’t too damaged, you can save them for another hexi design later.
Look at you! you did it! Just iron that baby out and put it to good use. Follow along and check back again for fun ways to utilize your hexi. Comment your favorite hexi project or any other tutorials you want to see 🙂
Happy trails, craft criminals.

